YouTube Video

Saturday, December 28, 2019

How to read ISN by CGDI BMW

This is the guide on how to read ISN by CGDI-BMW Engine Control Computer.
Preparation:
CGDI BMW MSD85 computer
Wiring harness
CGDI host
Procedures:
Open the software and enter the corresponding operation interface.

Select “MSD85” and click “OK”

Step 1: check the related wiring diagram.

Step 2: wiring.

After wiring, connect the wiring harness to CGDI.

Step 3: identify the engine control computer.

Recognize successfully , display related information.

Step 4: read ISN.

Read successfully, show the ISN.

Done.

Souce: http://blog.eobdtool.co.uk/cgdi-bmw-engine-control-computer-msd85-read-isn-operation/

Monday, October 7, 2019

How to use CGDI Prog BMW to read/ write N13 ISN and DFLASH

How to use CGDI Prog BMW to read/ write N13 ISN and DFLASH without opening the DME shell, punching and no need 12V supply. Here is the step-by-step guide to use.
Preparation:
CGDI BMW programmer+ N13 read ISN authorization
N13 DME
One professional OBD cable made by CG Company which is special for reading and writing DME ISN

N13 is same as N20, the difference between them is that the back of N20 is a smooth plate, and N13 back is iron bar which is felt concave and convex.

Procedure:
Follow the wiring diagram in the CGDI BMW software

There are 6 Pin feet on N13 DME

Connect 12V cables (2 red)

Connect CAN-L and CAN-H cables (1 yellow and 1 green)

Connect GPT-0 cable (1 brown)

Connect GPT-1 cable (1 purple)

Connect GND cable (1 black)

Note: When connect all the cables with DME well, please confirm it again with the wiring diagram in the software.
Go to CGDI BMW software
Click on “N13/N20/N55/B38 read ISN”

Select N13 chip and click “OK”

There are 5 options: Wiring Diagram, Identify, Read ISN, Write ISN and Back

Click on “Identify”
Read out the chip, ISN and hardware ID

Click on “Read ISN”
Getting authorization…
Read DFLASH and ISN successfully
Copy the ISN

Please kindly notice:
ISN can be read, write, modify and change second-hand DME
Click on “Write ISN”

Read DFLASH success
Save DFLASH data

Paste the ISN has been read
To distinguish the ISN from the original one
Change the last two digits to “88”
Click on “OK”

Write ISN success

Click on “Read ISN” again
Confirm CGDI BMW key programmer write N13 ISN successfully

Except N13, CGDI Prog BMW also can read ISN for the following DME types without dismantling.
A0000015   B48 B58
A0000017   MSD80 / 81 /85 /87 MSV90
A0000018   N20 / N55 /B38
Reference: http://blog.eobdtool.co.uk/cgdi-prog-bmw-read-n13-n20-n55-b38-isn-no-need-opening-dme/
That’s all!

Friday, September 20, 2019

CGDI Prog MB Softeware Download

CGDI MB Benz Key programmer newest Update to V2.9.1, here is the free 
download link: 

https://mega.nz/#F!iaZWxSKK!qUCFas1gnSK2EVAOgZGN0w


CGDI MB V2.9.1 update details:

The Mercedes monster calculates the password in only 24 seconds.
50% of users only need 24 seconds to complete the calculation
40% of users need 35 seconds complete the calculation
10% of users need 70 seconds complete the calculation
Quality Experience:
1. Fix the 21DF key write function; solve the problem that other clear keys(the data inside the key can be used to rewrite after erasing the data) cannot be written.
2. Optimize the reading key experience; (reading speed is greatly improved)
3. Optimize the read lock experience; (read speed is greatly improved)
4.Add the function that 164 (2009-) does not require a gateway to collect all lost.
(Supports no gateway repeated plugging and AC fast acquisition)
5. Add new 164 (2009-) no gateway full drop acquisition wiring diagram;
6.Modify old 164 (2009-) no gateway full drop acquisition wiring diagram;
7. Modify the W203/W463/W639K lock wiring diagram.

Wednesday, September 18, 2019

CGDI BMW New Function Added

CGDI Prog BMW has been added a new function: Can read ISN without dismantling DME, including:
A0000015   B48 B58 read ISN
A0000017   MSD80 / 81 /85 /87 MSV90 read ISN
A0000018   N13 / N20 / N55 /B38 read ISN


How to get CGDI BMW upgrade?

You need to pay upgrade cost- 66 USD, no need shipping.
Pass the serial number of your CGDI BMW device to distributor once paid.


Available link to go: http://www.eobdtool.co.uk/wholesale/cgdi-bmw-read-isn-no-need-opening.html

Get more CGDI Prog BMW MSV80 key programmer info:

CGDI Prog BMW MSV80 updated to V2.9.0 (12th Sep, 2019)

1.Free Download link: https://mega.nz/#F!iaZWxSKK!qUCFas1gnSK2EVAOgZGN0w
2.Update info:
1Added French version
2Added: B48 B58 read ISN
3Added: MSD80/D81/D85/D87/MSV90 read ISN
4Added: N13/N20/N55/B38 ISN read and write
5F system code increases the function of modifying VO code
6E system code brush hiding function to increase the search button
That’s all!

Monday, August 12, 2019

How to Program BMW X1 key by CGDI BMW

How to use CGDI prog BMW MSV80 key programmer to program new key to BMW X1 through downgrade? Here is the step-by-step guide for you.

Prepare:

Car: 2015 BMW X1 CAS3+
CGDI prog BMW
Two car keys: Original car key& blank car key
BMW test platform (DIY)

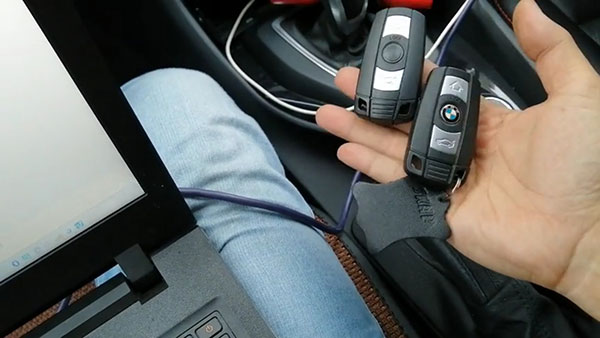
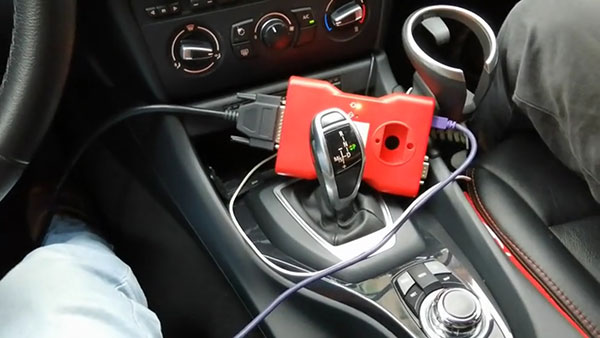
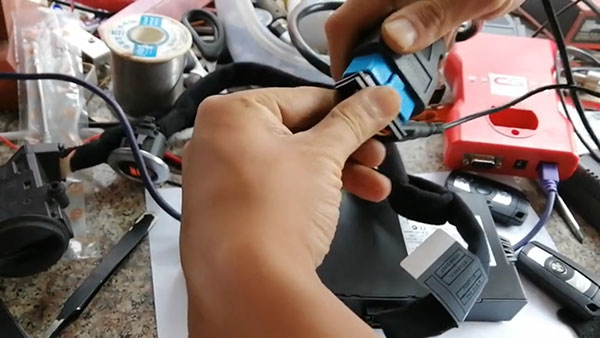
cgdi-prog-bmw-add-new-key-to-2015-bmw-x1-1 cgdi-prog-bmw-add-new-key-to-2015-bmw-x1-2


Procedures:

Step 1: Connect to CGDI prog BMW
Step 2: Program key
Step 3: Test new key
Note: The car is CAS3+, need to downgrade. Downgrading on the vehicle must ensure that the vehicle voltage is stable. Charge the car batteries by other car. But if it’s not convenient, you’d better dismantle the CAS and downgrade with test platform.

Step 1: Connect to CGDI prog BMW

Dismantle the CAS DME from the car
Plug the test cable into the CAS port
Connect the ignition switch to the CAS
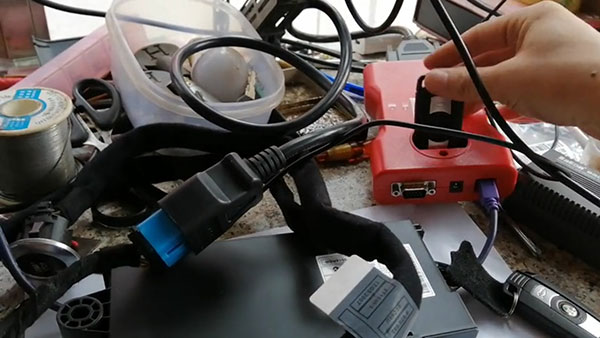
Connect CAS to CGDI prog BMW device via OBD
Turn on the power switch and adjust the voltage to about 12V
cgdi-prog-bmw-add-new-key-to-2015-bmw-x1-3

Step 2: Program key

Open the CGDI BMW software
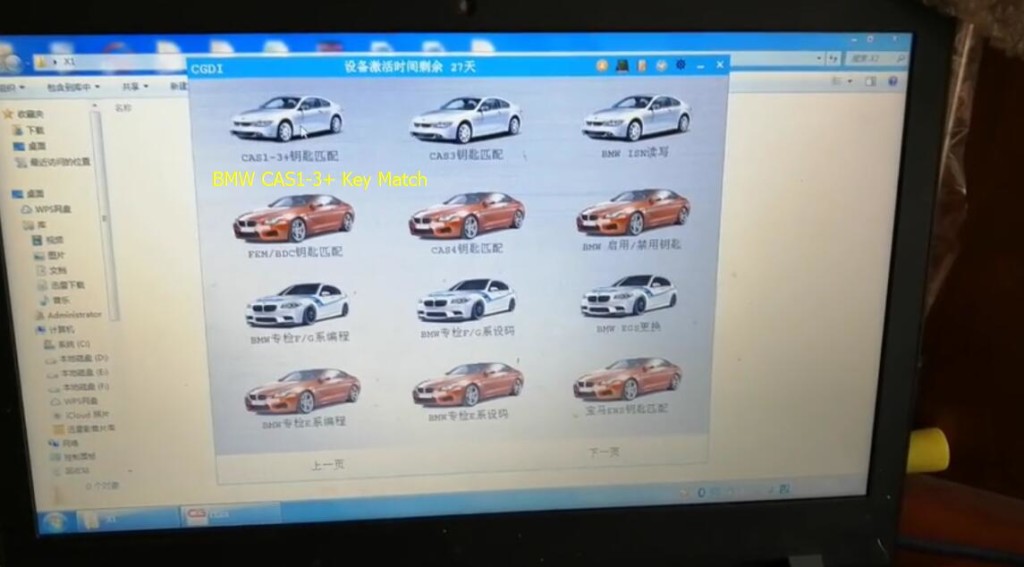
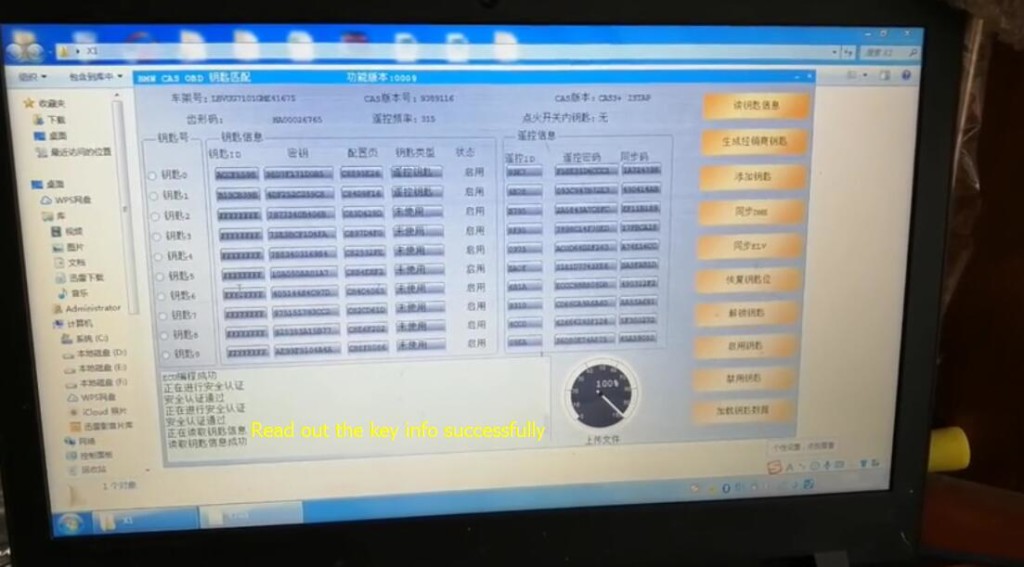
Select “BMW CAS1-3+ Key Match”-> “Read key info”
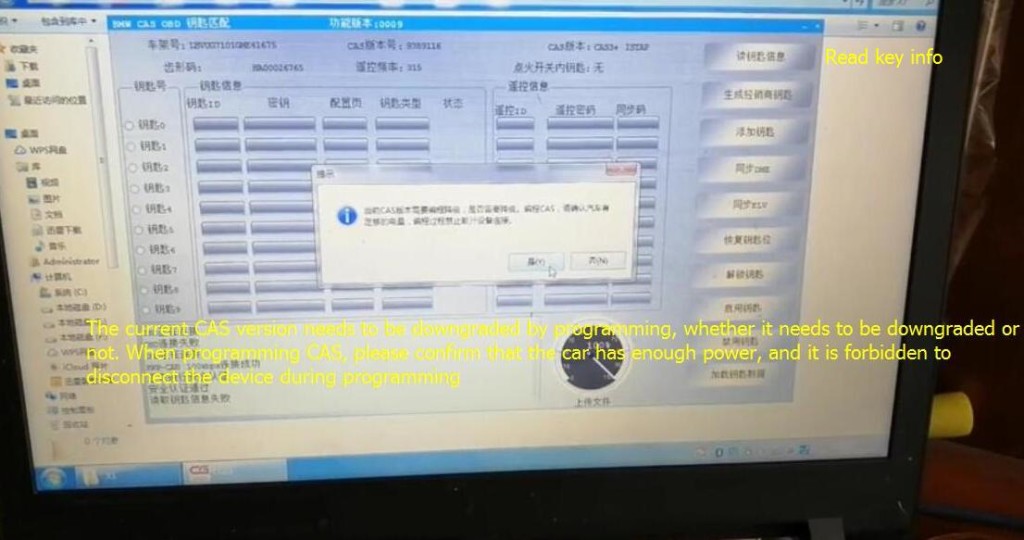
Pay attention to the prompt “The current CAS version needs to be downgraded by programming, whether it needs to be downgraded or not. When programming CAS, please confirm that the car has enough power, and it is forbidden to disconnect the device during programming.”
Click “YES”

cgdi-prog-bmw-add-new-key-to-2015-bmw-x1-4 cgdi-prog-bmw-add-new-key-to-2015-bmw-x1-5

Note: Please remove the key from the ignition switch
The key has been removed, just click “OK”
Wait 10 minutes…
Read key info success

cgdi-prog-bmw-add-new-key-to-2015-bmw-x1-6

Select one key unused (key2)
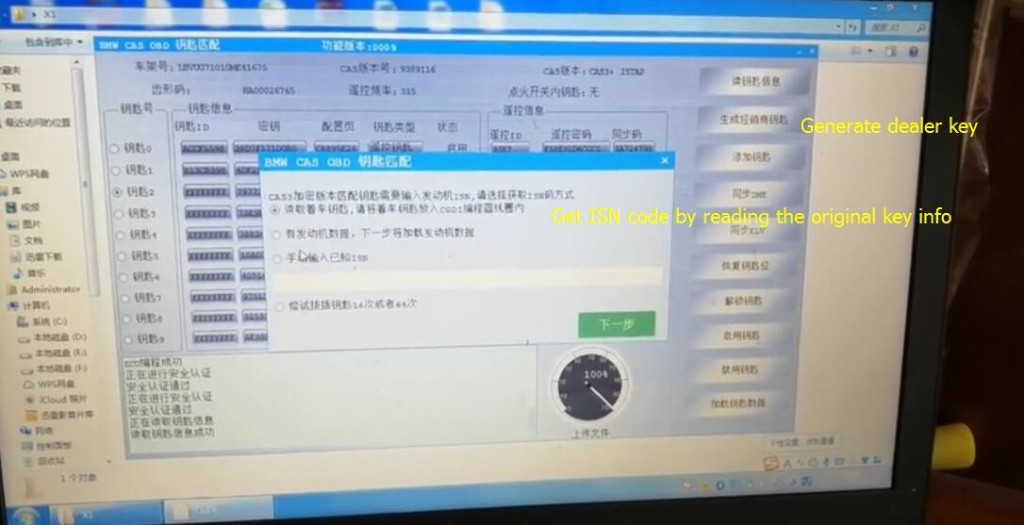
Click “Generate dealer key” to generate
Select the first mode to get the ISN code
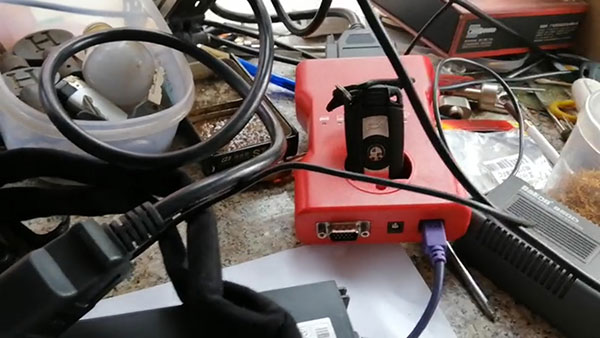
Insert the original car into CGDI prog BMW coil

cgdi-prog-bmw-add-new-key-to-2015-bmw-x1-7 cgdi-prog-bmw-add-new-key-to-2015-bmw-x1-8

Take out the original key from CGDI prog BMW
And insert the blank key
Return to desktop and click OK”

cgdi-prog-bmw-add-new-key-to-2015-bmw-x1-9

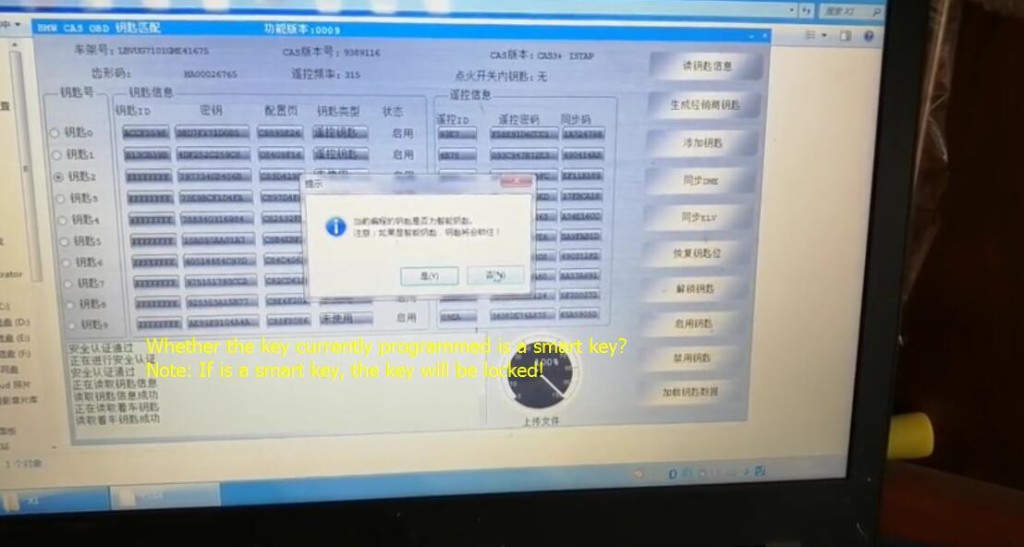
Check the prompt warning massage:
Whether the key currently programmed is a smart key?
Note: If is a smart key, the key will be locked!
The key is a remote key, click “No”

cgdi-prog-bmw-add-new-key-to-2015-bmw-x1-10
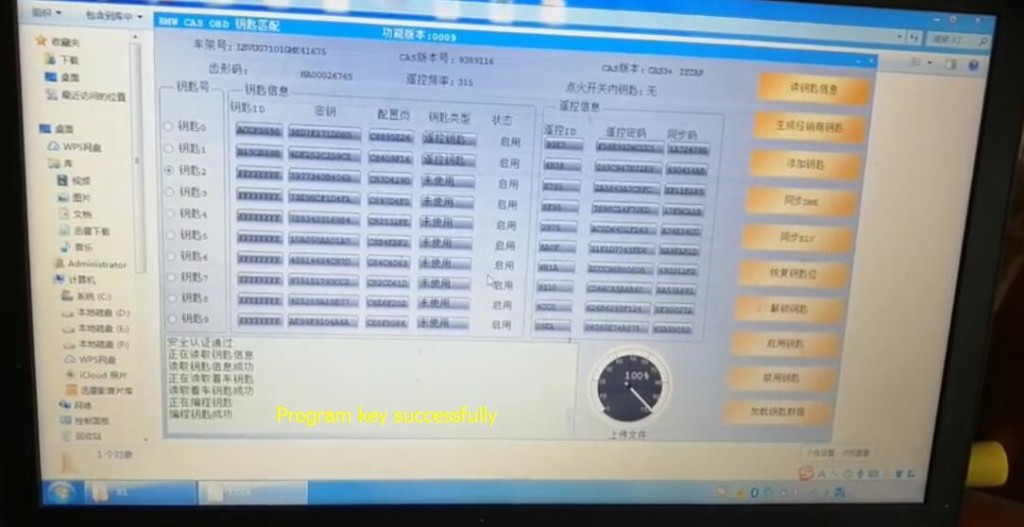
Program key successfully
cgdi-prog-bmw-add-new-key-to-2015-bmw-x1-11
Insert the blank programmed into BMW key slot
Can be used normally
cgdi-prog-bmw-add-new-key-to-2015-bmw-x1-12
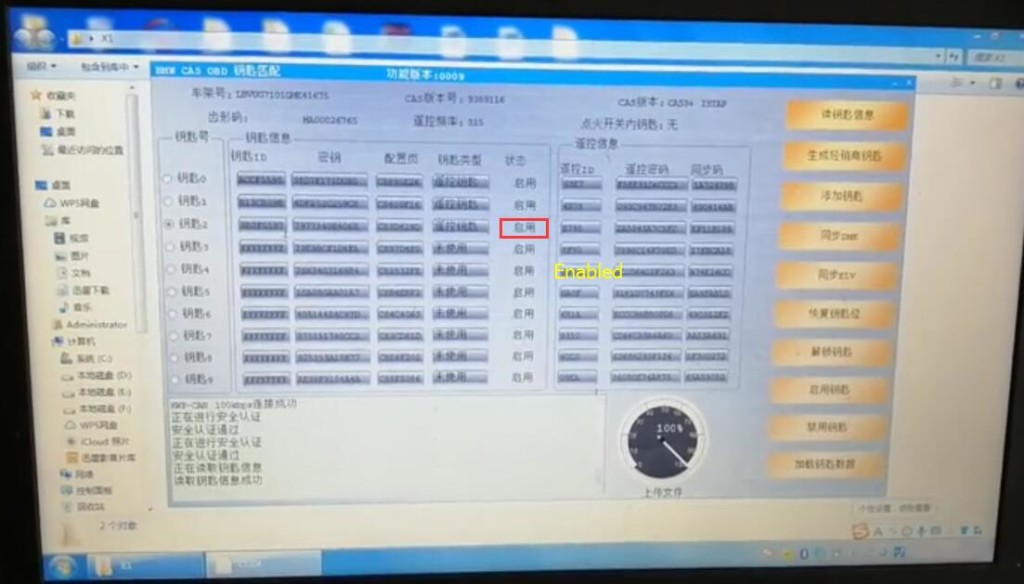
Click “Read key info” to read key data again
Read key info success
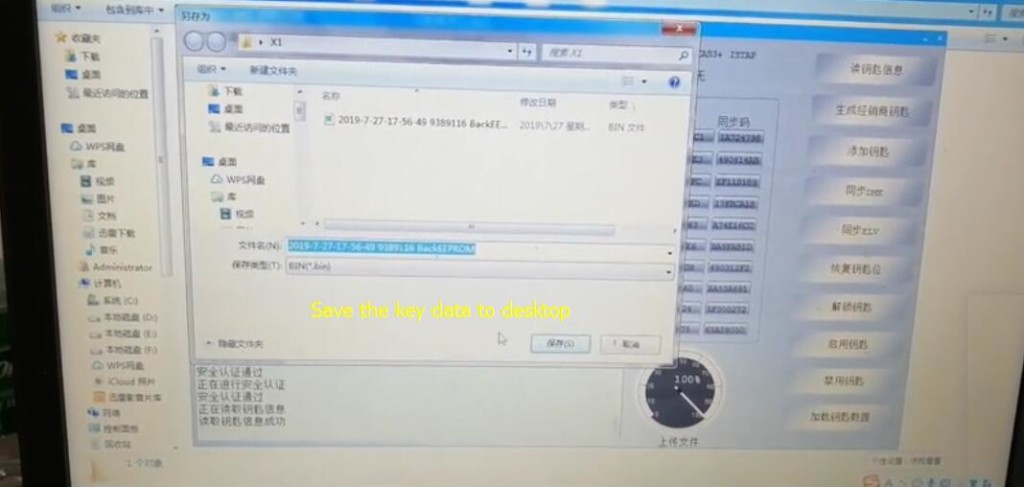
Save the relevant data to desktop
cgdi-prog-bmw-add-new-key-to-2015-bmw-x1-13 cgdi-prog-bmw-add-new-key-to-2015-bmw-x1-14

Step 3: Test new key
Place the CAS back to the BMW X1
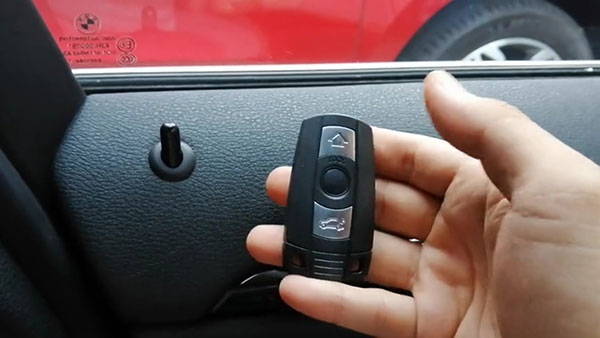
Test remote- OK
cgdi-prog-bmw-add-new-key-to-2015-bmw-x1-15
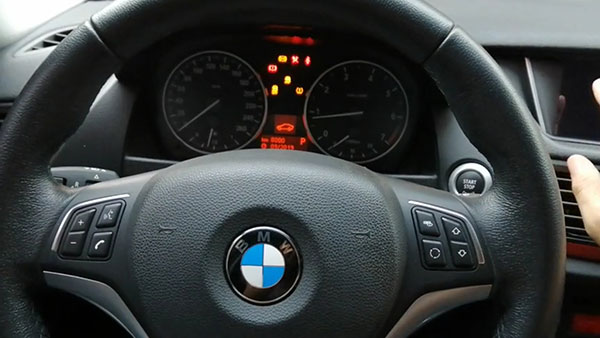
Start the car- OK
cgdi-prog-bmw-add-new-key-to-2015-bmw-x1-16
Job’s done!

Thursday, August 8, 2019

CGDI MB support all keys lost for ELV repair

CGDI prog MB with full adapters can support all keys lost for ELV repair. Here I’d like to share my experience about it.
Cost & Package:
I bought cgdi prog mb with full adapters recently. It cost me 679 euro free shipping at eobdtool.co.uk. All the goods i received after 5 days via DHL. The package incl. the following items:
1pc x CGDI MB Multiplexer
1pc x Adapter
1pc x OBD Cable
1pc x USB Cable
1set x EIS/ELV Test Line for Mercedes
1pc x ELV Emulator
Activation:
Cgdi prog mb needs activation when received, so i activated it before using follow the steps below:
1)Download cgdi prog mb software from official website: http://www.cgprogcar.com/en/?c=list&cs=xiazaizhongxin, there are relevant cg products software in the catalogue
2)Install cgdi mb software on laptop and read out serial number of cgdi
3)Pass serial number to eobdtool.co.uk customer service, when activation is done, restart cgdi prog mb and the software, it will be ready to use.
The test:
Activation was done, so I started to use cgdi prog mb to repair the W204/ 207/212 ELV.
Firstly, I connect the power, usb cable and OBD connection device.
The vehicle can be replaced with a used or new ELV.
Then start to access to the formal procedures
Part 1: Replace used ELV
1.Connect cgdi prog mb to Mercedes car via OBD, open cgdi mb software, select “ELV” and “Read ELV Data” to read w204, w207 and w212 data

2.Connect the clip on the yellow line of the OBD line to the K-line on the directional lock plug

3.Read the ELV basic info and key info successfully

4.ELV is ok and can do repairing

5.Get ELV erased password

6.Erase the ELV success

7.Read ELV data again, related info displayed after erasing

Part 2: Replace whole new ELV
After reading the whole new ELV data, the related info is showed as below, you can do the following operations without wiping ELV data

Collect and calculate anti-theft password:
Select “EIS”-> “Read EIS Data” to read info

Enter “Compute Password”-> “Copy key with key”
(If you lost all the keys, you can choose “copy key without key”)

Select “Collect Data” and “other keys”, and then click “OK”

Collect key password follow the software prompts and copy

Go to “EIS” and paste the password to ELV

Save the ELV data successfully (Please default the file name)

Get the erased password successfully

Click “Wipe EIS Data”
Follow the prompt to insert the simulation key into the EIS in 30 seconds


Erase the EIS success

Read EIS data again to show the related info

Load the original data (the ELV data saved initially)

Click “Write EIS Data”
Pay attention to the prompt and click “OK”

Insert the simulation key into the EIS in 30 seconds again
Write EIS data success

Read EIS data again to show related info

Click “Sync W204 ELV”, when it shows sync W204 ELV success, please insert key into EIS for activation

Activated successfully, ready to use

That’s all. Hope can help you out!

Learn more: http://blog.eobdtool.co.uk/